Well, per a request from Mike Rose, I ballasted a little bit of track, using Future Floor Wax, of course! It worked well as usual, here is a photo of the finished product ... well, sort of, I am still waiting for the Future to dry so I can paint the rail ...
I took this video with my iPhone of the Future application and how easy it is. Unfortunately the microphone on my iPhone is not working, so there is no sound ... not that there was a lot of sound involved in this ...
You will be able to see the Woodland Scenics ballast crater, and then level out and then the Future flow through the ballast, without a wetting agent! And if you listen to the September Scotty Mason show, you will be able to hear Jimmy Simmons talk about some of the other things that Future can do.
Friday, September 30, 2011
Once again, progress... Okay, not much ...
Well, I spent alot of the day today working on the layout. Why, well, because I got displaced off of my regular job onto the extra board again ... ah well. Anyway, I have done some work on the layout.
First off, I sanded and painted the rest of the roadbed on the section that I have up ...
Well, the second project was to create a splice plate so that I can hold the splines on the next section of layout. Here is the piece I built using a scrap piece of aspen, cutting 1/2" deep notches for the spines with a table saw.
This is the splicer plate installed on the new section. I also installed that tie that you see that hasn't been stained ... That is actually on the second section.
For reference, this is the tie spacing jig that I made out of masonite pieces last year. The width of the masonite strips is such that it allows for a little variation in the tie spacing, just like on the prototype.
I installed a couple tie strips and held them down into the yellow gluw with these pieces of 1/2" plywood and clamps ...
In this case, it was a good thing that I am impatient, because when I looked at the ties under the block on the left, they had shifted WAY out of position. Fortunately, the glue had not set completely, so I was able to move and reglue them. They are now being held in place three at a time with the clamps.
Oooo, I love it when I get parts in the mail ... I just got these today ... Rail anchors! The last piece of the puzzle as far as the track detailing here goes, but dear lord, I am going to go broke using these things as much as I need to ... They come from the Irish Tracklayer, but I think y'all could figure that out.
And this is what they look like installed .... I really think that they make the track pop ...
And here is a shot of a little more of the track with them installed ...
But wait ... there's more ...
First off, I sanded and painted the rest of the roadbed on the section that I have up ...
This is the splicer plate installed on the new section. I also installed that tie that you see that hasn't been stained ... That is actually on the second section.
For reference, this is the tie spacing jig that I made out of masonite pieces last year. The width of the masonite strips is such that it allows for a little variation in the tie spacing, just like on the prototype.
I installed a couple tie strips and held them down into the yellow gluw with these pieces of 1/2" plywood and clamps ...
In this case, it was a good thing that I am impatient, because when I looked at the ties under the block on the left, they had shifted WAY out of position. Fortunately, the glue had not set completely, so I was able to move and reglue them. They are now being held in place three at a time with the clamps.
Oooo, I love it when I get parts in the mail ... I just got these today ... Rail anchors! The last piece of the puzzle as far as the track detailing here goes, but dear lord, I am going to go broke using these things as much as I need to ... They come from the Irish Tracklayer, but I think y'all could figure that out.
And this is what they look like installed .... I really think that they make the track pop ...
And here is a shot of a little more of the track with them installed ...
But wait ... there's more ...
Thursday, September 29, 2011
Converting a Corn Syrup Car to P48 ...
Well, this wasn't much a "project" really, but I thought you might be interested in the photos nonetheless. I swapped the trucks off of an Atlas O Corn Syrup tank car with the other set of P48 Roller Bearing trucks from Protocraft. Here are a couple photos of the differences between the Atlas Trucks that I have talked about and the Protocraft, correct size trucks. You all might find it interesting ... The Protocraft truck is on the right ...
Now here is what I thought was a clever contraption, using the trucks I had just taken off of the car to use as a cradle.
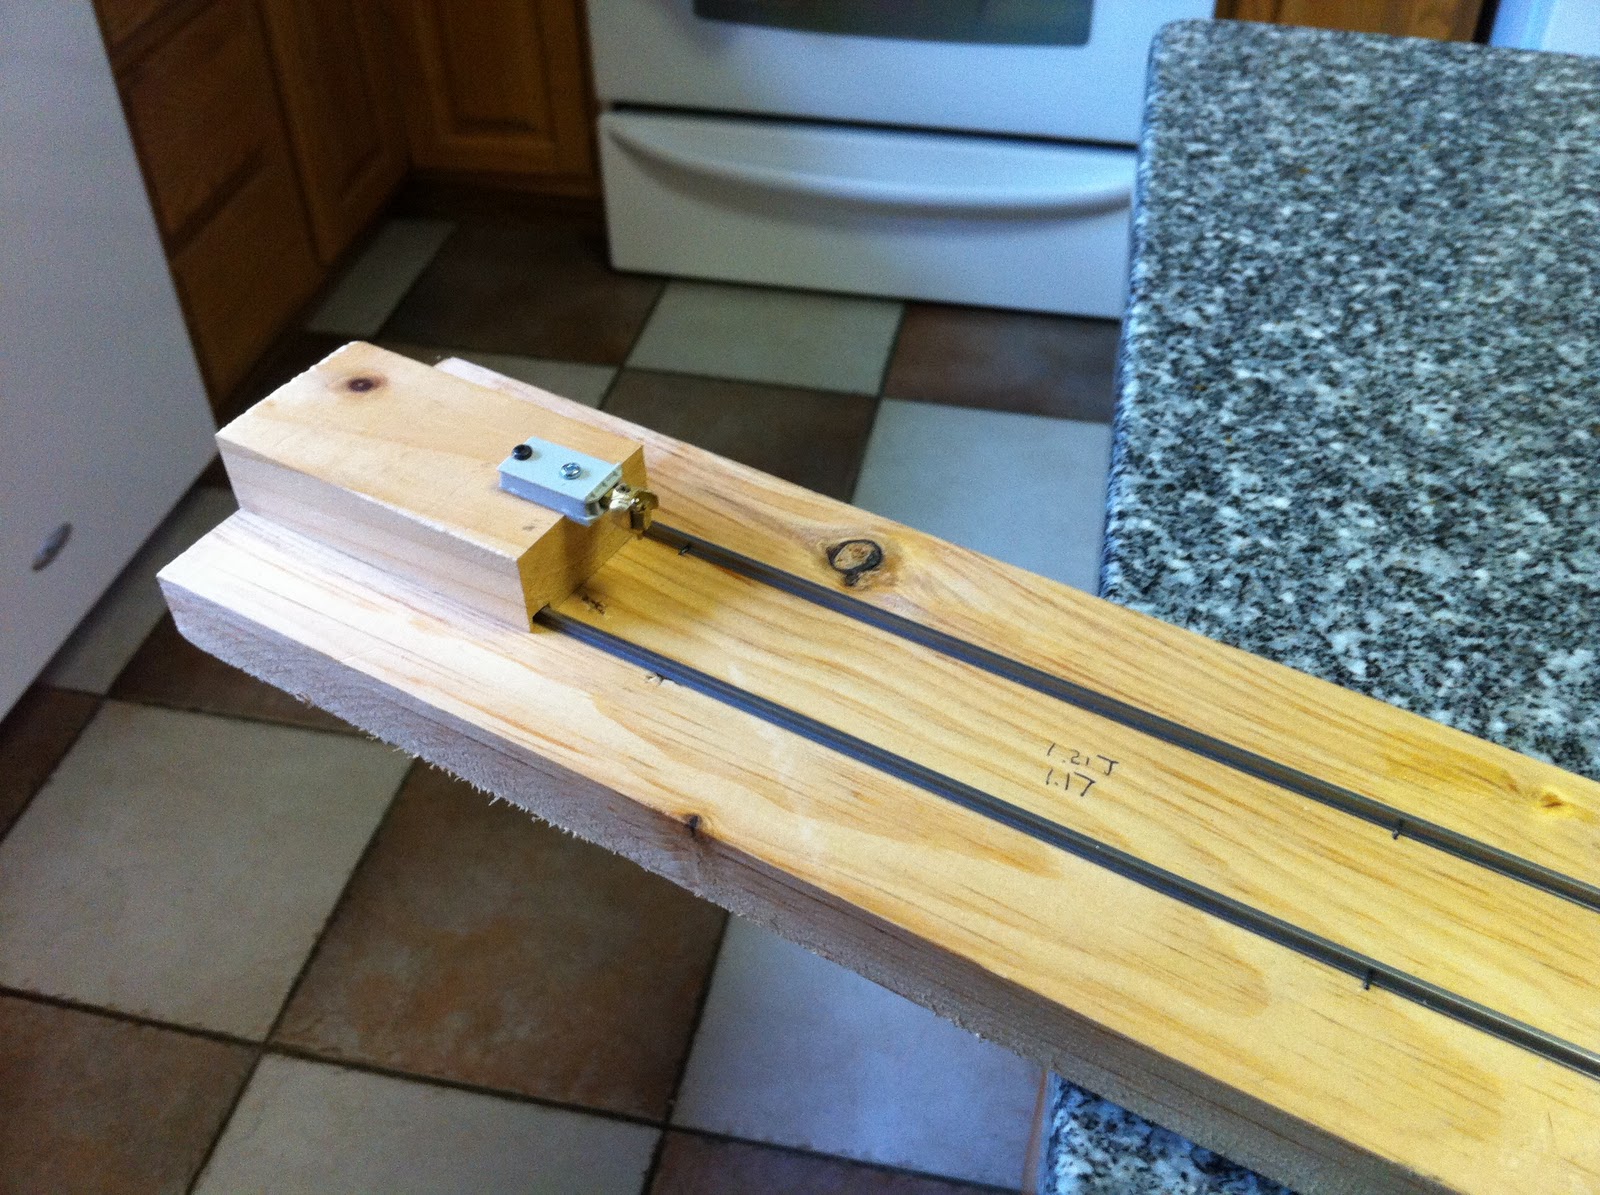
And here is the homemade coupler height gauge I made using the Protocraft coupler and some code 125 rails that I laid on a pine 1x4.
Tuesday, September 27, 2011
What to do when you make a mistake ...
Well, what does one do when one has a problem with his track that is staring him in the face? That even those who are not as obsessed as me would say ... "Dude! What's up with that?" You figure out a way to fix it and if you are fortunate, it actually does!
The problem: A dip in on of the rails due to rushing through the laying of the ties and the roadbed, just so that he could see something get done. The first photo shows the problem, I think, but the second really does, here goes:
Well, it is not ferociously obvious here, because by the time I took this photo, I had already pulled up the spikes in this dip, in preparation of doing the repair.
In this photo, I have loosened all of the spikes in the area,
and used an X-Acto knife with a chisel blade to lift up underneath one of the ties to show how much of a dip there was in the rail.
If you look carefully under the tie in the center, you can see the scrap tieplate that I wedged in under the tie as a shim. I then proceeded to do essentially the same with the rest of the offending ties.
As the work proceeded, I only had two scrap tie plates, so I only needed to shim the ties up and hold them in place. Since this was going to be held in place with carpenters glue, I decided to use spikes as shims instead of tieplates. In this photo I am shoving the spike in under the tie.
I then flowed in some yellow carpenters glue to fix the ties in place. Everything is respiked and looks quite good. It isn't perfect, but as close as I can reasonably get it, so I am satisfied.
The problem: A dip in on of the rails due to rushing through the laying of the ties and the roadbed, just so that he could see something get done. The first photo shows the problem, I think, but the second really does, here goes:
In this photo, I have loosened all of the spikes in the area,
If you look carefully under the tie in the center, you can see the scrap tieplate that I wedged in under the tie as a shim. I then proceeded to do essentially the same with the rest of the offending ties.
Monday, September 26, 2011
A little more of the same ...
I continue along with the track laying, a little at a time. I have added a little bit of weathering to the ties to give them a sun-bleached look. That is simply done with a white pastel pencil, as per a suggestion from Laurie Green when he was here in the US for CSS 2010. Here are the photos:
Any questions Gordon?
A question of spikes ...
Gordon Dobson once again brings up a question, well actually he brought it up on Model Rail Radio and just reminded me that I had promised pictures. The issue was about what spikes I was using. I said Micro Engineering, but that I had to cut the head of the spikes to use them, which was taking a lot of time. Here are a couple photos demonstrating why it is necessary.
In the left photo, you can see an unmodified spike on the left and the cut spike on the left. The unmodified spike head is 1/8 of an inch, or 6" in O scale. Even better, it's 1 foot in HO. The cut head is about 1/16, still too big, but better, at least.
On the right, the modified spike is on top and the unmods are below. The width is also adjusted to look better.
I have a supply of these spikes, and thus I am using them. Many times, I have been using relatively unmodified spikes on the back of the rail, since it can't be seen. (Yes, even I will do the "good enough" thing if it really is feasible.)
Technically, the best spikes are the ones from Proto 87 stores, but they are pricey and take a while to get. They also can be a bit of a pain to work with, but the pliers I am using do help in that regard.
Saturday, September 24, 2011
Self Guarded Frog ...
This is something that I would really like to have, but is not available in P48 (or anywhere else for that matter) is the cast manganese self guarded frog. Here's the photo for Jason on the Sept 24, 2011 Model Rail Radio ...
Subscribe to:
Posts (Atom)